Table of Contents
MIDI Import
This feature is available in Musink Pro only.
Musink Pro allows you to import MIDI files directly into your score, where they are converted to sheet music.
Info MIDI files have the extension .mid or .midi in Windows. If you have a MIDI file with the extension .swf, you should rename the extension to .mid. Musink supports both type 0 and type 1 MIDI files.
Importing Into A New Section
Importing into a new section creates an entirely new section. Staves in the new section are automatically:
- Created
- Named
- Have the appropriate settings set
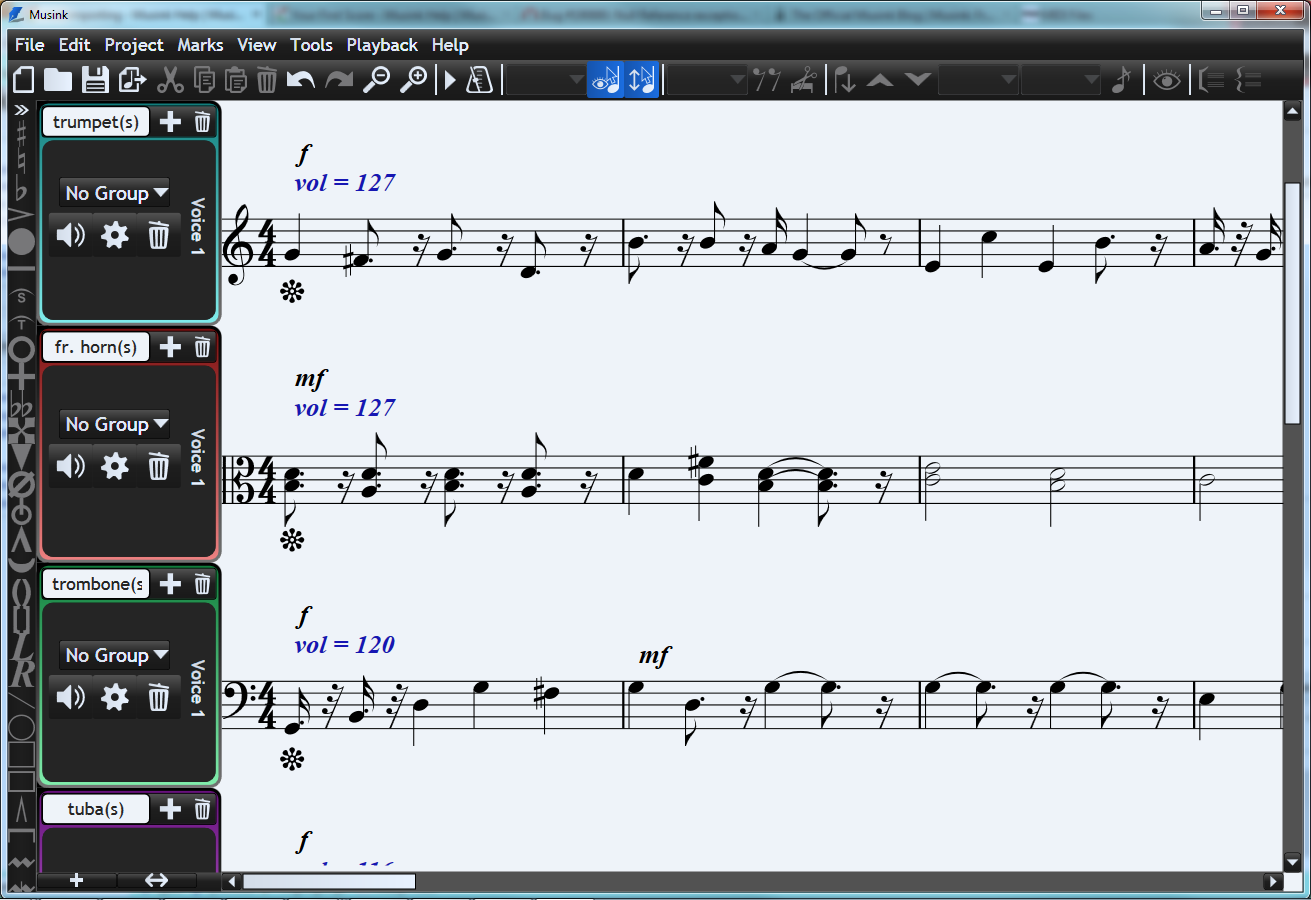
- Filled with music transcribed from one track of the MIDI file
To import into a new section with default settings:
1. If you do not have a project open, start a new project or open an existing project.
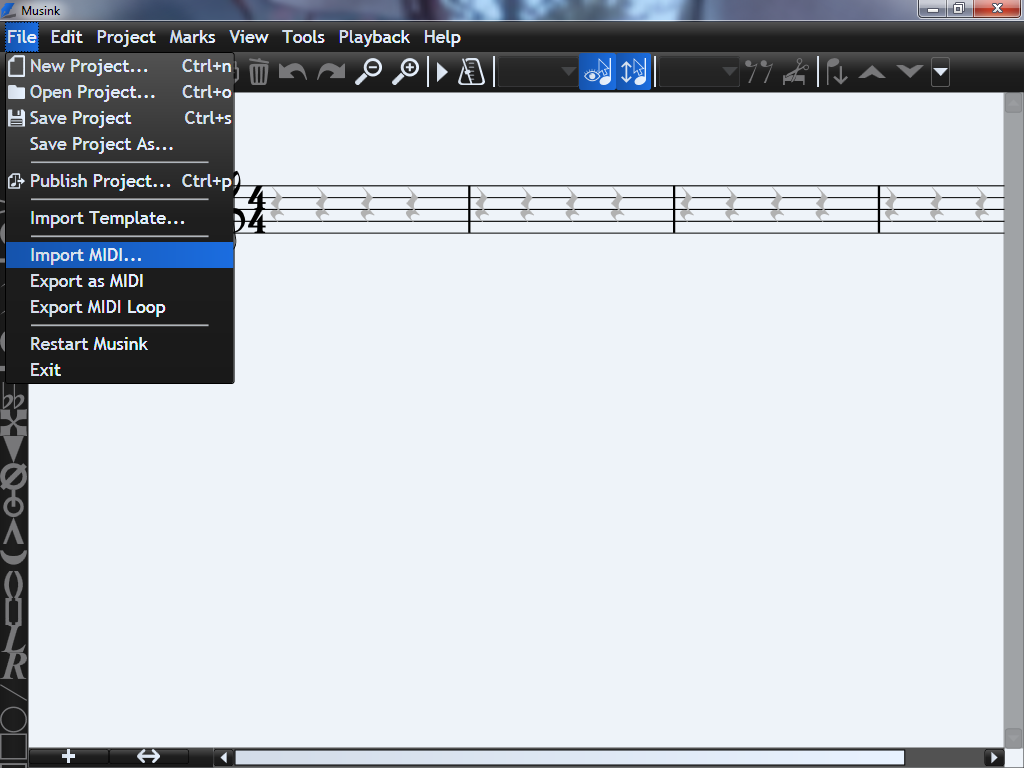
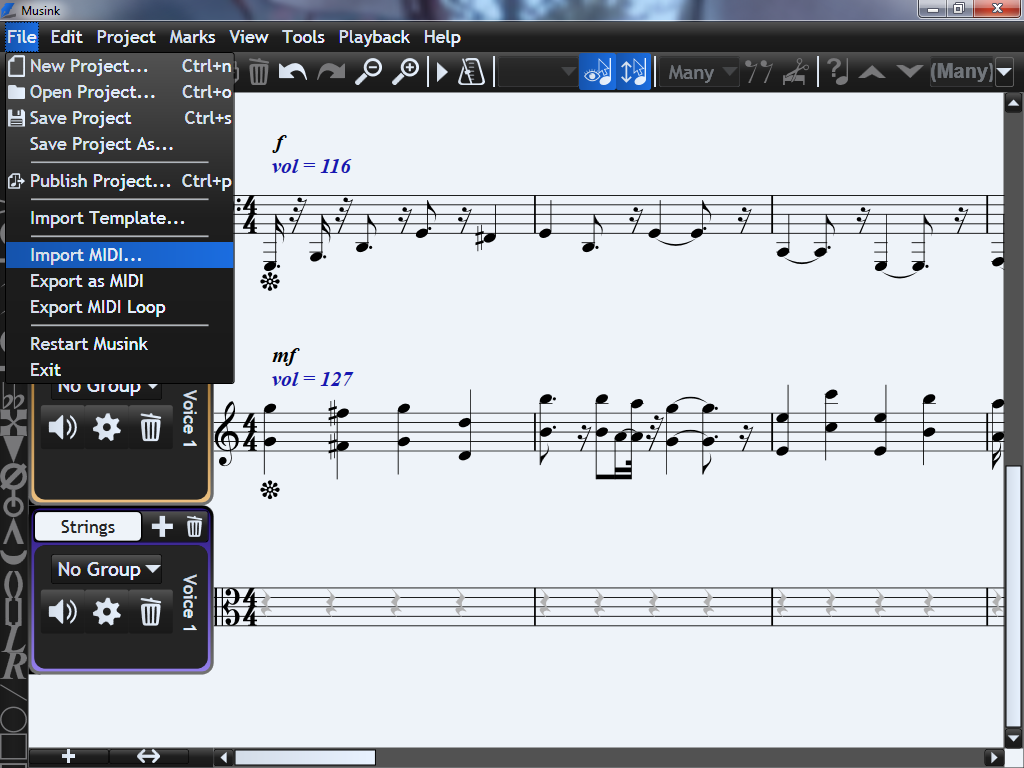
2. From the menu bar, select File, then Import MIDI File…
3. A window will appear. Select your file and press OK.
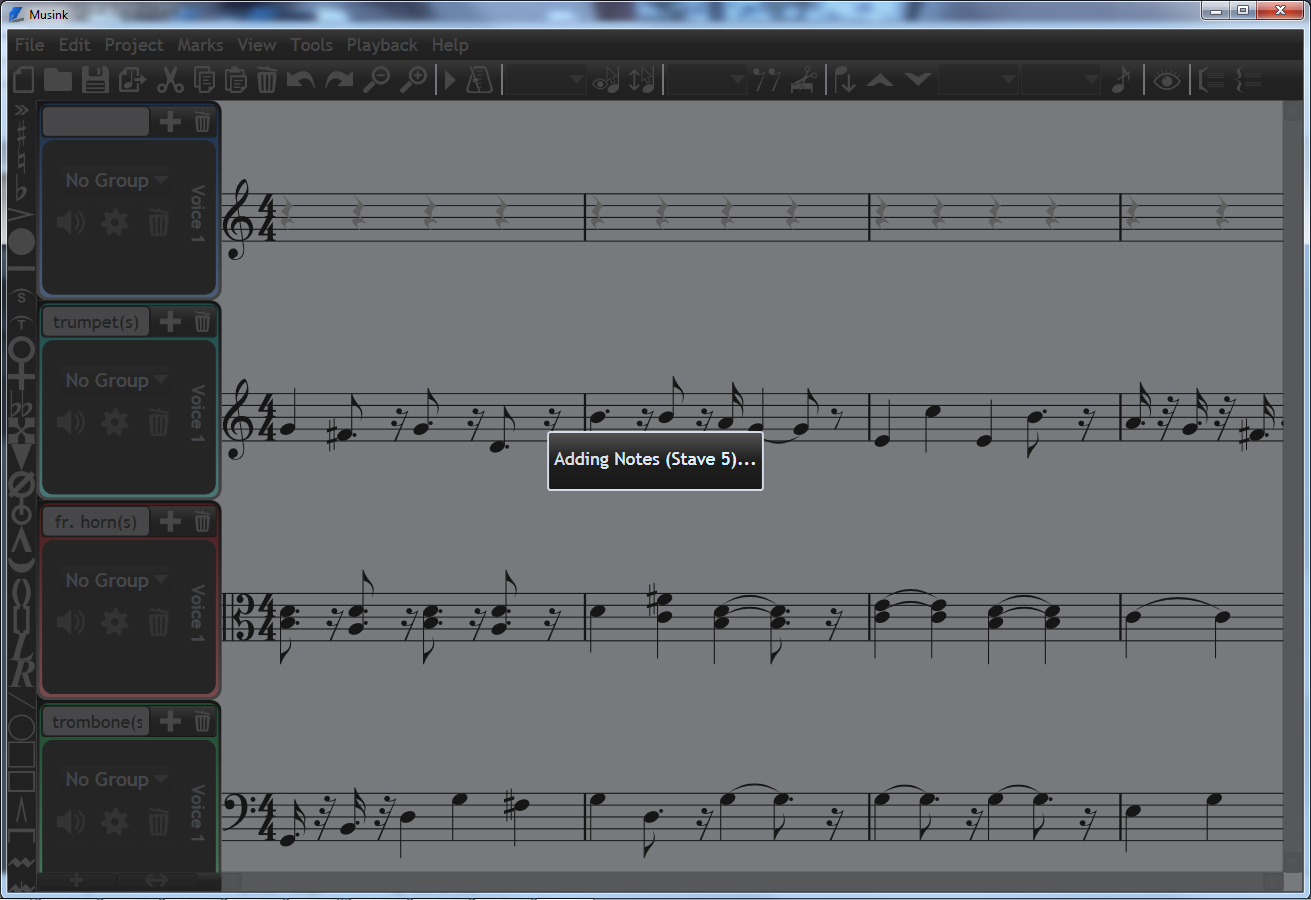
4. Musink will attempt to read the file. If this is a very large file, this may take some time.
5. The Import options window will appear, as below. Ensure Import Into is set to New Section.

5a If you like, you can unselect tracks you do not wish to import, and change other settings
Tip If the first track has no name it probably contains no notes, but may contain other information such as tempo marks. Importing this track will add time to your import operation, but may also provide useful information that improves playback.
6. Press OK
7. Import will begin. When it notifies you it has completed, press OK.
Importing Into An Existing Section
You can import MIDI data into existing staves with Musink Pro. To ensure optimal transcription of the MIDI file:
- You can only import one MIDI track at a time (e.g. just the flute part)
- The stave you import into must only have one voice
- Importing MIDI data will not change your voice or stave settings, including including the instrument or MIDI channel
- Importing MIDI data will not change your stave's time signatures, even if the MIDI file states another time signature
Important If you are importing percussion, ensure that the stave is set as a percussion stave before importing. Likewise, do not import non-percussion data into a percussion stave, as it will not be correctly interpreted.
To import a midi file into an existing section:
1. Open the section you wish to import data into
2. From the menu bar, select File, then Import MIDI File…
3. A window will appear. Select your file and press OK.
4. Musink will attempt to read the file. If this is a very large file, this may take some time.
5. The Import options window will appear, as below. Ensure Import Into is set to New Section, and only one track is selected to import.

6. Press OK
7. Move your mouse to where you would like to import the MIDI, then click the mouse.
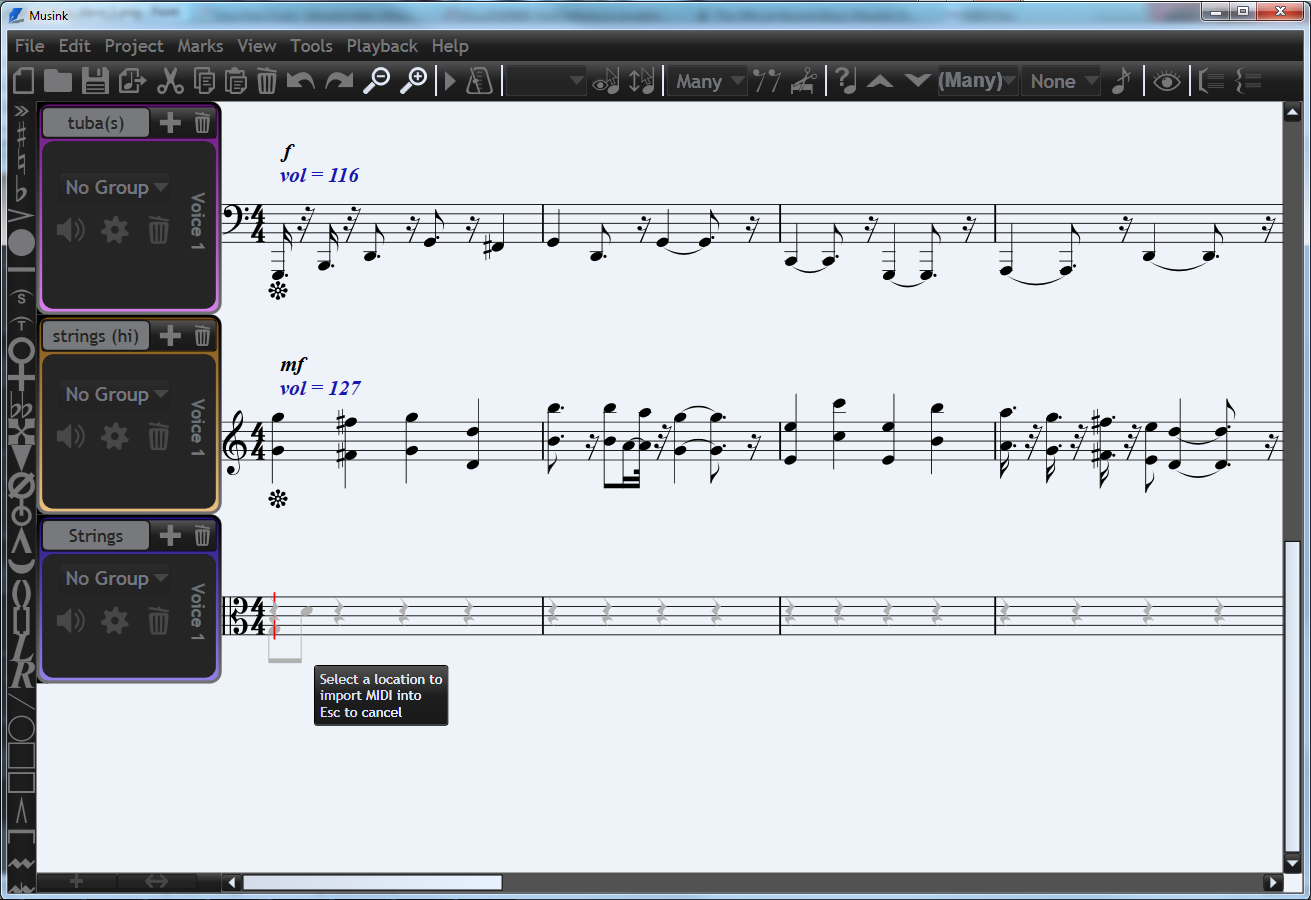
Tip You can import to the start of any bar you wish. If you choose a bar that already contains music, that music will be replaced with MIDI that you import. Music before and after the MIDI will not be deleted.
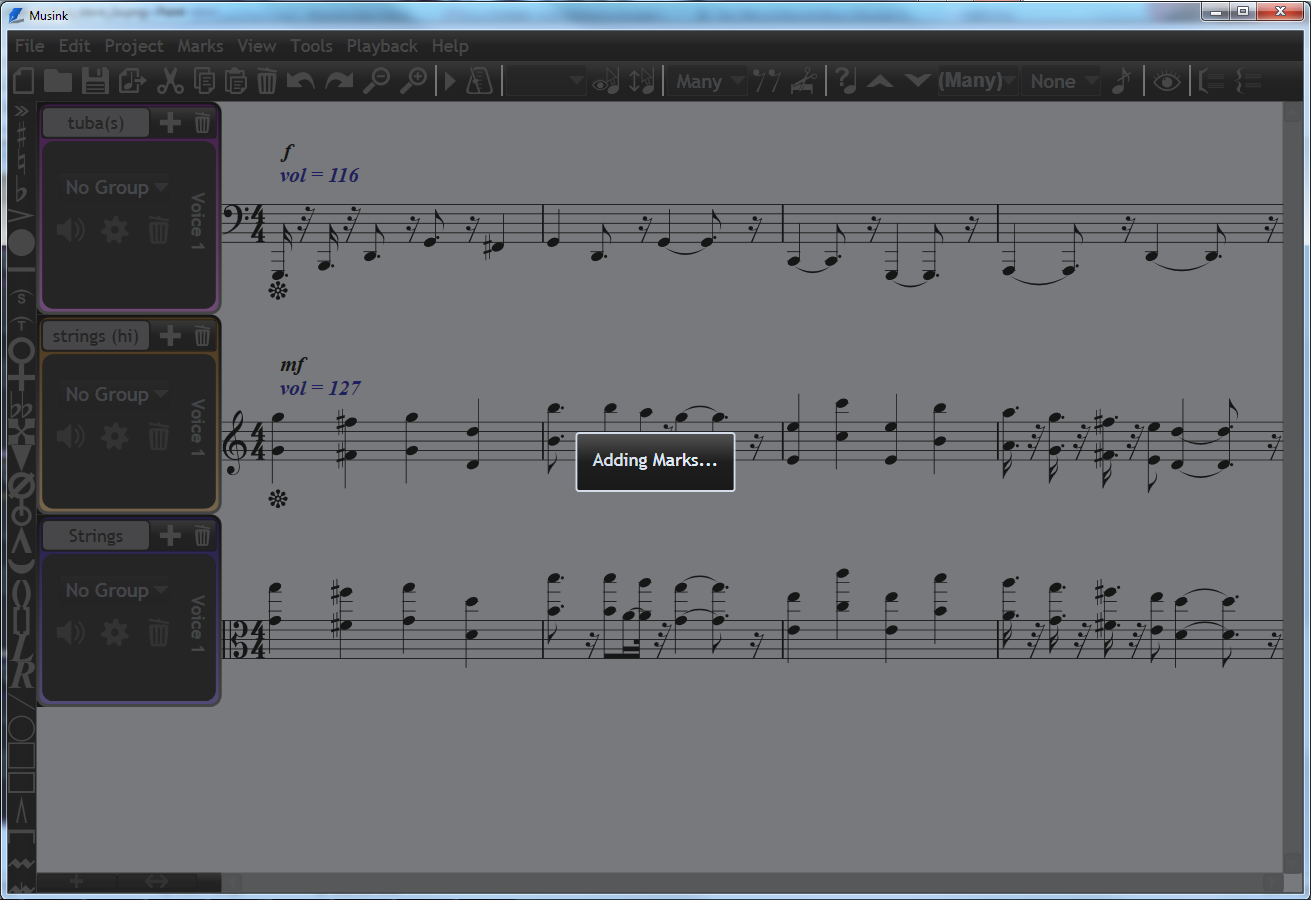
8. Import will begin. When it notifies you it has completed, press OK.

Troubleshooting
Warnings And Poor Transcription
In some circumstances, Musink may warn you about a MIDI file's content, or import it in a way that you do not expect. Reasons for this include:
- The MIDI data may be invalid
- Unclear and/or contradictory information
- Missing MIDI Data (e.g. no Note-Off data)
- Invalid data (e.g. a time signature of 0/0)
- Data that simply was never written with real musicians in mind. Many MIDI files do not split musicians up by track. For example, they may ask a single violinist to play 3 parts at once, even though this is not physically possible.
Very Long Notes
Some MIDI files do not state Note-Off information (which indicates when a note should stop being played). The result is very long notes in Musink, up to 32 beats long. This can be avoided by setting Ignore Durations For to All Staves in the Import Options Window.
Slightly Too Short Notes
Sometimes MIDI data that is recorded live has notes that are slightly too short. Typically this is due to the pianist lifting their fingers off the keyboard slightly early, in order to play the next chord. This can be avoided by setting Ignore Durations For to All Staves in the Import Options Window. Alternatively, you can simply select and delete the rests that Musink adds during importing.
Cannot Import File
Not all programs create valid MIDI files, and MIDI files differ somewhat in their encoding. Sometimes files simply cannot be imported. Some of these reasons are:
- The file is corrupt
- The file has a strange (or very low) PPQ value. In order to accurately quantise music, Musink requires that PPQ values are divisible by 24. E.g 24, 48, 240, 960 are all valid values, but 16, 47, and 201 are not. A value of 24 was chosen as this allows both 32nd notes and 8th-note triplets to be quantised exactly.
- The file contradicts itself. For example, it may state that bar 1 is in a 2/4 time signature, and also state that it is in a 4/4 time signature
- The file has much data that makes no sense, or invalid values
Some ways around these difficulties are to:
- Edit the file in another MIDI program, and re-export it.
- Attempt to import one stave at a time