Table of Contents
Your First Template
The Template Editor is available in Musink Pro only
This tutorial will walk you through creating your first template with the Template Editor. This tutorial contains a moderate amount of detail to aid your learning, and should take a novice 15-20mins to complete.
This tutorial covers:
- How to start a new template
- Choosing the units to work with
- Adding pages to a template
- Creating pages with and without music on them
- Setting page sizes and margins
- Adding and removing template fields
- Changing the font style and size of template fields
- Moving and aligning template fields to the centre of the page
- Defining default text, including page numbering styles
- Setting notation size and spacings
- Saving your template
- Using your template in Musink for publishing
Tip You may find it useful to have the Template Editor UI page open in another tab or window for reference.
Tip You can click on any screenshot in this tutorial to view a larger version of the image
Overview
During this tutorial we will create a template that:
- Is A4 landscape
- Has a special first page with no music on it. The first page displays the Title and Composer of the piece
- Has the Title, Composer, and Page number on pages with music
- Has reasonable margins on all four sides
- Can hold a reasonable amount of sheet music which is well spaced vertically
Step 1: A New Template
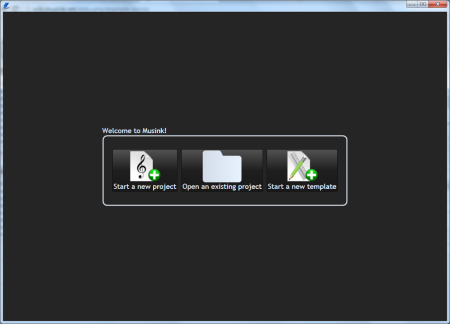
1. Open Musink Pro. At the Welcome Page, select Start a new template
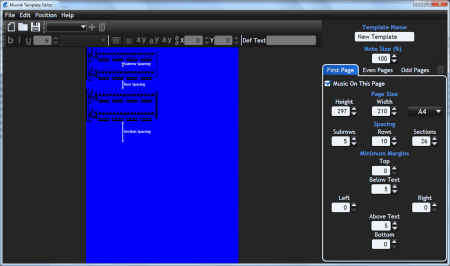
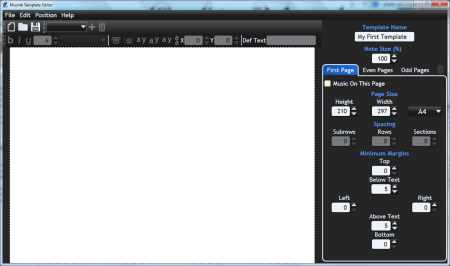
The Template Editor will load with a blank template.
We will start by naming our template:
2. Click on the Template Name box at the top-right of the screen
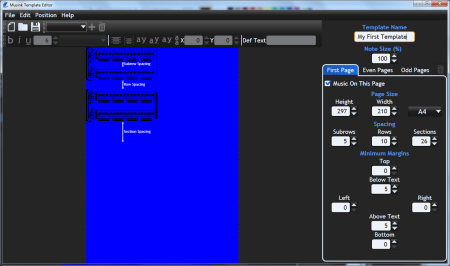
3. Name the template My First Template
Step 2: Set Units
Most numbers in the template editor are displayed in mm. If you would like to use pixels or inches instead:
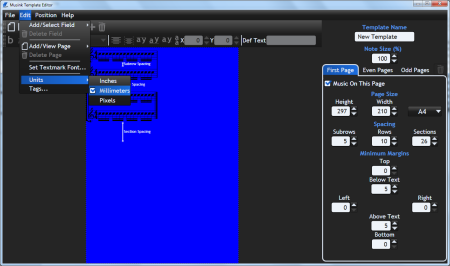
- Select Edit, then hover over Units
- Select the units you wish to use
Warning All screenshots from this tutorial are in mm. It is strongly suggested that, for this tutorial, you use mm.
Step 3: Set Page Size
The default page size is A4 portrait. To change to landscape:
- In the width box, write 297
- In the height box, write 210
Step 4: Create First Page
Our template is going to have a special first page that displays the title and composer. This page will have no music on it.
Remove Music
Where music will appear on a page is blue. To remove music from this page, uncheck the Music On This Page checkbox.
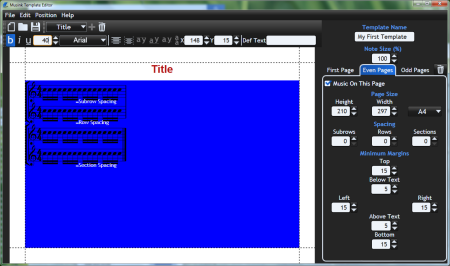
Add Title Field
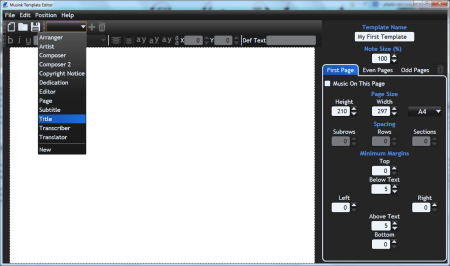
A template field is a place where text appears on your score. To add a Title template field:
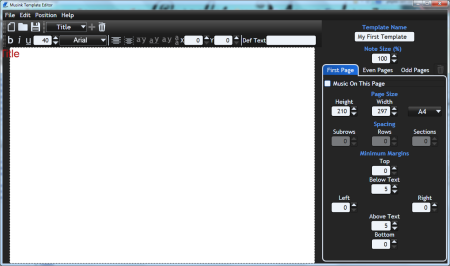
1. From the dropdown, select Title
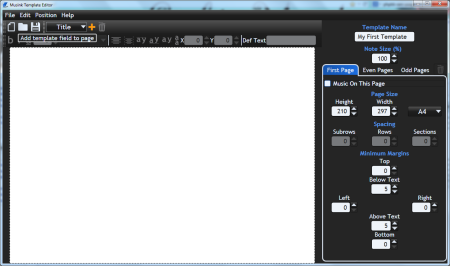
2. Press the add (+) button just to its right
A title field will be added to the top left of the page.
Position Title Field
We will now position the title field.
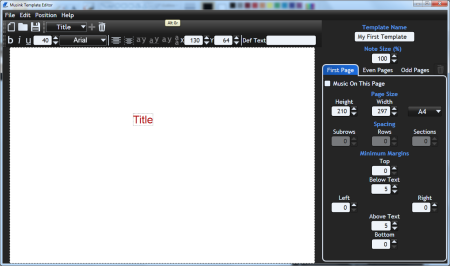
- Click on the title field and drag it downwards, to slightly above the centre of the page
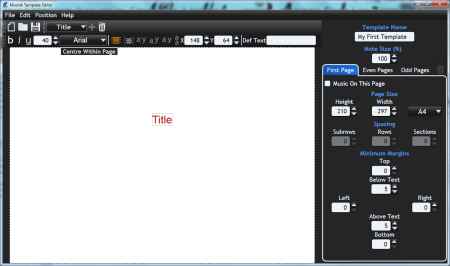
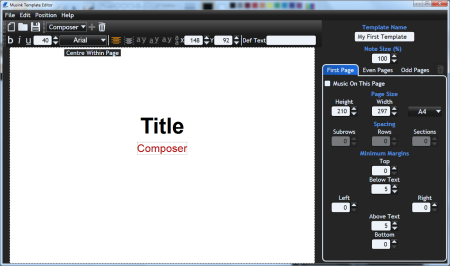
- Press the Centre Within Page button, to move the field to the horizontal centre of the page
Tip If you change the font-size of a field, the top of that field will stay in the same place. Template fields are also centre-aligned. I.e. when text is placed into a field during publishing, the horizontal centre of a template field will stay in the same place.
Edit Title Font
To make the Title field larger:
- Make sure the title field is selected (red). If it is not, select it by clicking on it
- Click the bold button at the top left of the screen
- Set the font size to 80pt.
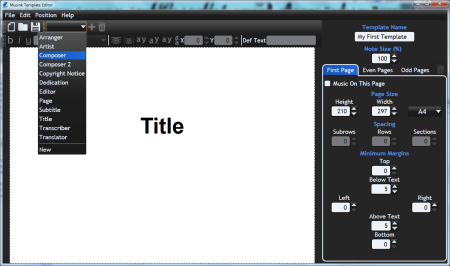
Add Composer Field
Add a Composer template field:
1. From the dropdown, select Composer
2. Press the add (+) button just to its left
The composer field will be added to the top left of the page.
Position Composer Field
- Click and drag the composer field below the title field
- Press the Centre Within Page button, to move the field to the horizontal centre of the page
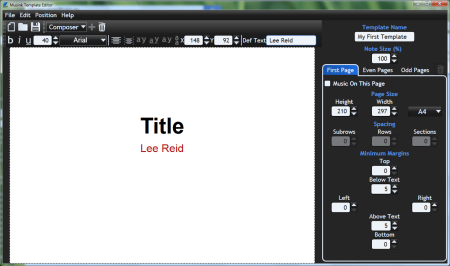
Set Composer Default Text
If you wish, you can set the default text for a template field. This can save you entering the same text for a field every time you publish. To set the default text:
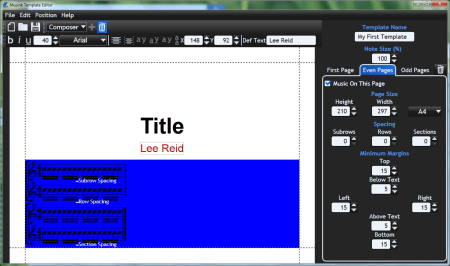
- Select the composer field
- Click in the Def Text text box
- Write your name
Tip If you cannot see the text box, make the Musink Pro window wider. Alternatively, click the down arrow on the button bar, where the text box should appear.
Step 5: Create Music Page
We will now create a page for music to appear on. This page will display the title and page number of the score. It will also have sensible margins.
Add Page
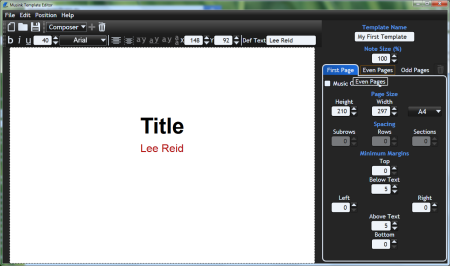
- Click on the Even Pages tab on the right of the screen
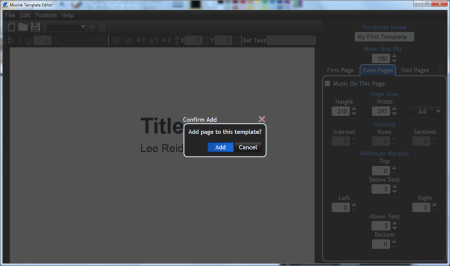
- At the prompt, click Add
A template page will be added to your template. This template page will look identical to the previous page you created.
Info Template pages can have completely different layouts, including different page sizes, margins, etc. For more information of types of page, see Template Pages
Tip When you create a new page, that page is a clone of the previous page you created. As such, it is worth setting the basic page layout of your first page before adding new pages, because settings such as page size will be copied to your new page. If you first add pages and then change settings such as the page size, you will have to manually update each page individually.
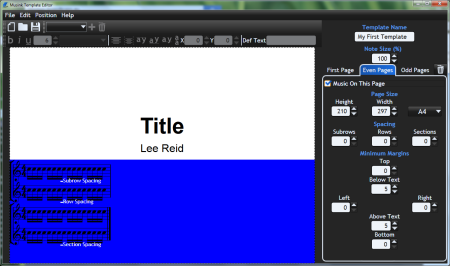
Music On Page
We want to use this template page to hold music. Check the Music On This Page checkbox
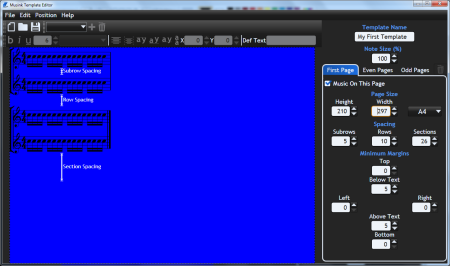
The blue Music Area will appear. This indicates the space available on the page for music.
Info The blue Music Area is automatically calculated based on the margins and placement of template fields. There is always only one music area per page. The music area is always above and/or below template fields; you cannot place template fields alongside a music area. To manipulate where the music area sits, adjust the page margins.
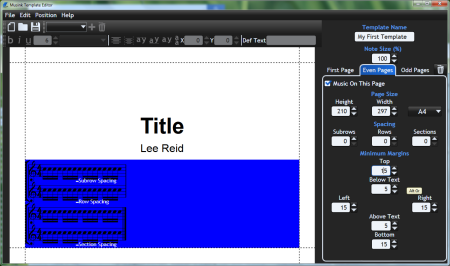
Set Margins
We will now set our page's margins. The Minimum Margin controls are on bottom-right of the screen.
- Set the Top, Left, Bottom, and Right margins each to 15mm
- Note how the music area shrinks and dotted margin indicators appear in the Preview Area
Info It is important to set sensible margins if you intend on printing your project or using a lot of free text. For more information on margins, see Page Margins.
Delete Composer Field
We do not want the Composer template field on this page
- Select the Composer field by clicking it, or selecting it in the drop down
- Press delete, or click the trash icon on the button bar
Move and Resize Title Field
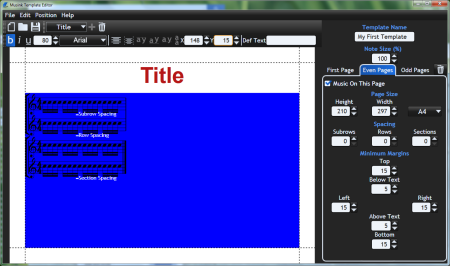
We want the title field to be smaller and at the top of the page so that there is room for music
- Select the Title field
- Manually set its vertical position to 15mm by writing 15 in the Y-position text box
- Set the font size of the title field to 40pt
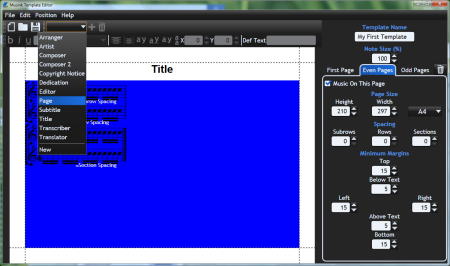
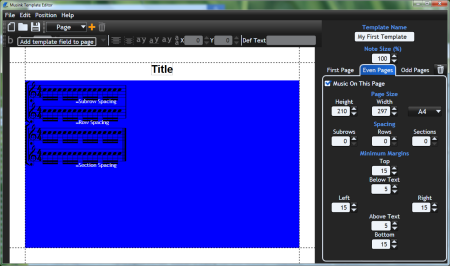
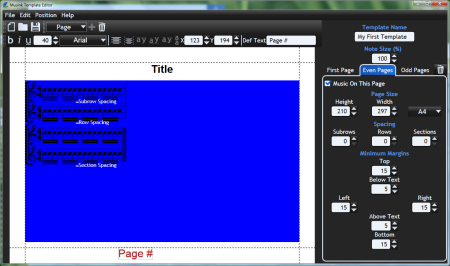
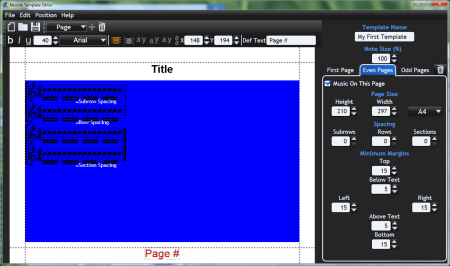
The Page Field
1. Add the Page field using the same method as earlier
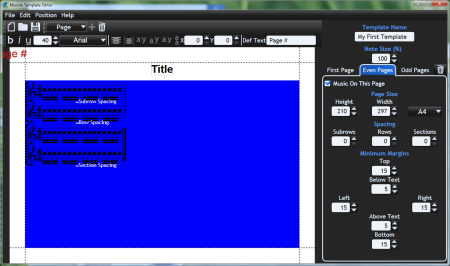
2. Drag the Page field so that its top appears approximately over the bottom margin
3. Press Centre On Page
4. Press the up or down keys on your keyboard to nudge the field so that its top sits exactly over the top margin
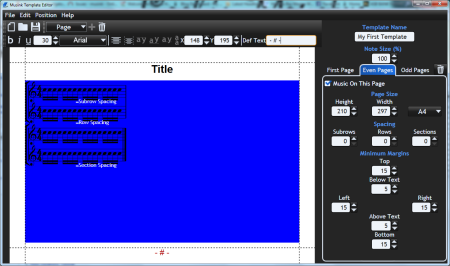
5. Set the default text of the field to - # -
6. Set the font size to 30pt
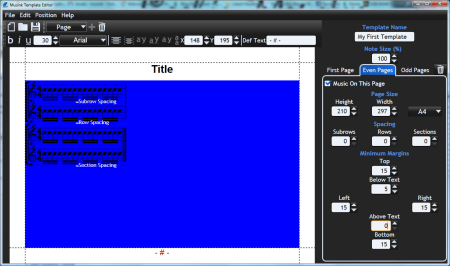
7. Set Margin Above Text to 0 for this page
Info The hash sign in the Page Number default text is replaced by the actual page number during publishing. For example, - # - would be published as - 1 -, - 2 -, - 3 -, etc. Page # would be published as Page 1, Page 2, Page 3, etc.
Step 6: Notation Size
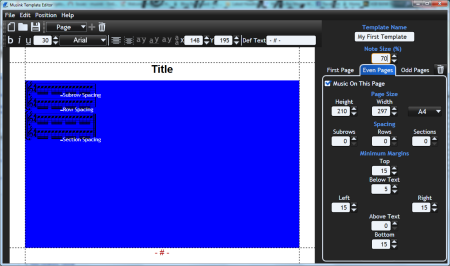
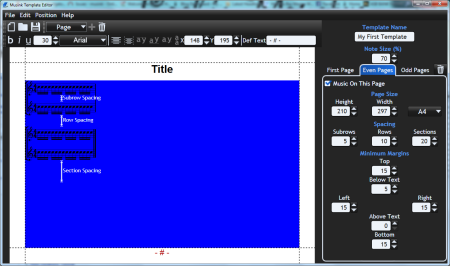
Our final edit will be to ensure that music on the page is layed out in a readable manner. The Preview Area displays how large notation will appear, as well as spacings between staves, rows, and sections.
1. Set the Note Size to 70%, using the control on the top right of the screen
2. Set the Sub Row spacing to 5mm using controls on the right of the screen
3. Set the Row spacing to 10mm
4. Set the Section spacing to 20mm
Info The Subrow, Row, and Section spacings set the distance between staves, rows, and sections of music, respectively. The spacing is measured from the lowest object in the row above, to the highest object in the row below.
Step 7: Save
To save your work:
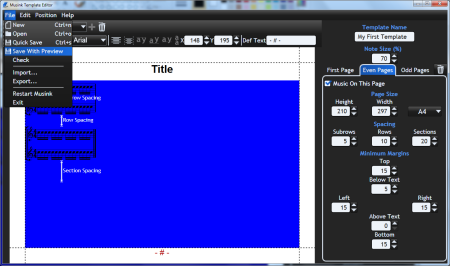
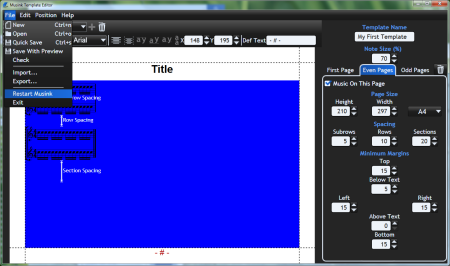
1. Select Save With Preview from the file menu
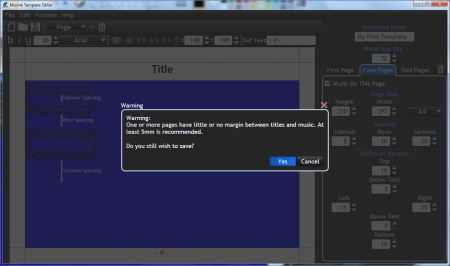
2. Ignore the warning about margins
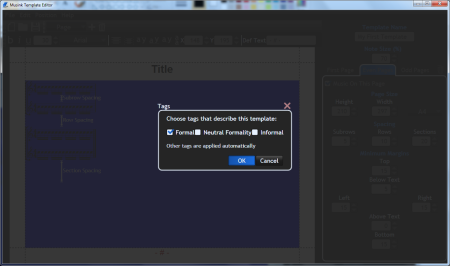
3. Choose the Formal tag when prompted, then click OK
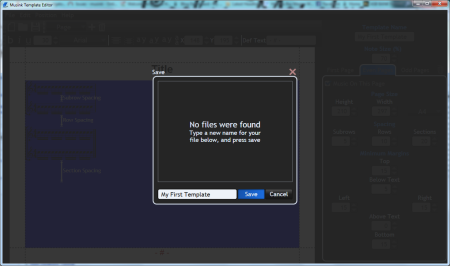
4. Name your template My First Template then click Save
Step 8: Using your template
Your template is now saved and ready for use. We will open an existing project and publish it using your template.
1. Select Restart Musink from the file menu
2. Open an existing project, or create a new project. Example projects can downloaded from here.
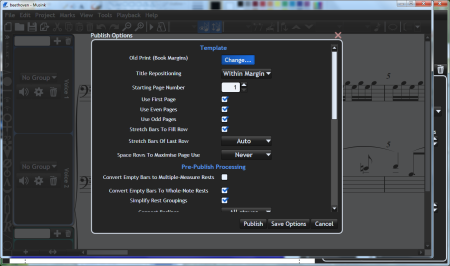
3. Select Publish from the file menu, or press control+p
4. Click Change at the top left of the Publishing Window
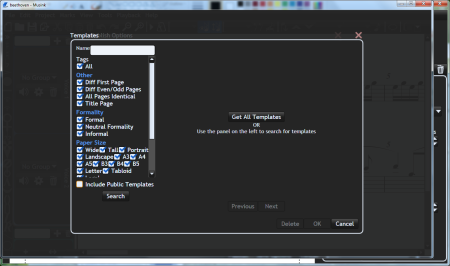
5. Uncheck Include Public Templates at the bottom left of the window that appears (optional)
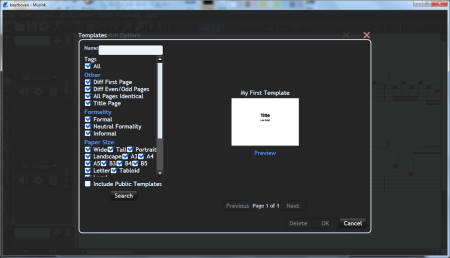
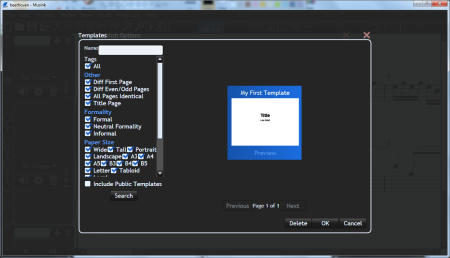
6. Click Search to find your template
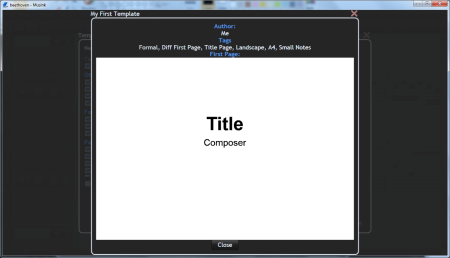
7a. To view the preview of your template, click Preview under your template's thumbnail (optional)
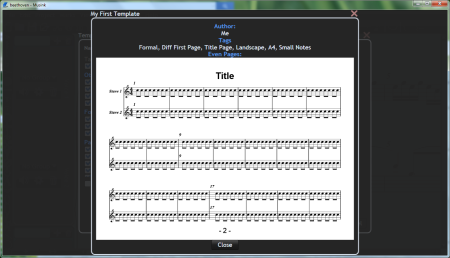
7b. To preview the next page, click on the preview itself
7c. To stop preview, click close
8. Click on your template's thumbnail to select it
9. Click OK
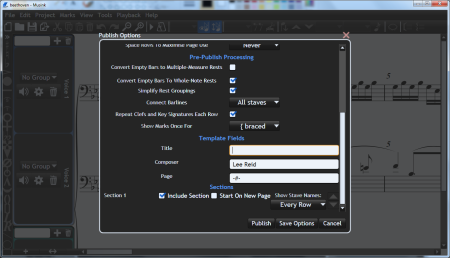
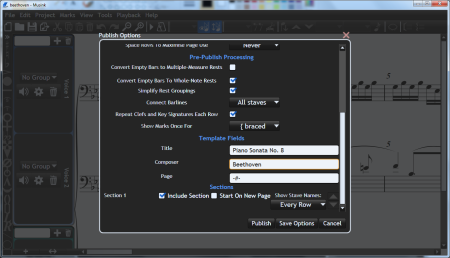
If you are publishing a new project, you will notice that the default text for Composer and Page Number have already been set. If you have opened an existing project, that project may have already set those fields to non-default values.
10. Set the Title and Composer fields to new values, if they have not already been set (optional)
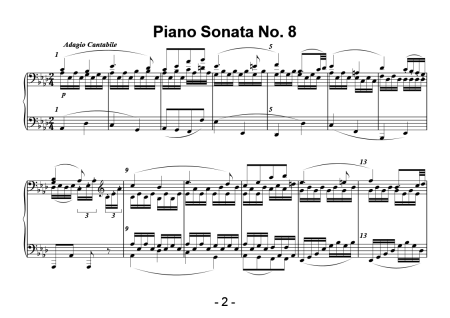
11. Click Publish to publish your project
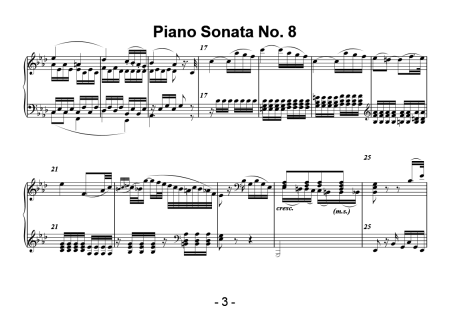
Your project will now publish, giving you results similar to those below:
Conclusion
You have now covered all the basics of creating a custom template from scratch, and using it to publish your work. You may wish to now experiment with creating different even and odd pages, or using the other functions in the Template Editor, such as the alignment functions not covered here.
As a final note, you can also edit copies of the templates that come with Musink. To do this, simply open them in the Template Editor the same way you would open your own scores.
