Table of Contents
Editing your Music Score PDF after Publishing
In some circumstances, Musink may not be able to produce a published score exactly how you envisioned it.
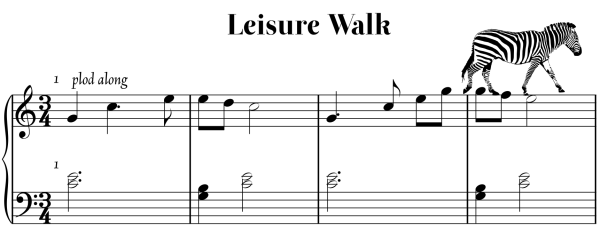
For example, you may want to change colours, merge bars, be artistic, add a logo, or simply “break the rules” of how music should appear.
To achieve your goals you will need to edit the published score.
There are two ways to do so. One is to edit the published score in a raster editor, such as MS Paint. The other is to edit the published score in a vector editor such as Inkscape. We will briefly introduce these options below.
These instructions are provided to help you get started with third party tools. Musink Support does not include helping you use third party tools, and Musink is not responsible for any consequences associated with their use. If you need further help with this process, we recommend spending time on other help sites that have dedicates support for the image editor that you use.
MS Paint and Other Raster Editing Software
Programs such as Paint, Gimp, or Photoshop let you edit images made up of pixels. This lets you draw or erase parts of a published score.
There are advantages and disadvantages to using these editors.
Advantages:
- Easy to use
- Familiar for most people
- Can do almost anything
Disadvantages:
- Tools are limited to drawing and erasing
- Difficult to move or delete notes, marks, etc easily or tidily
- Images can lose quality after being saved if you are not careful
- Bigger file size
If you wish to only make a simple edit, using a tool like this is usually the easiest way to do so. If you wish to make a more complex edit, or are concerned about losing image quality, vector editing software (see below) is generally a better option.
How to edit
To edit a score after publishing, you need the score in an image format (PNG, JPEG, TIFF, BMP, or WebP). Musink will let you publish straight to PNG files that can be edited. If you have a PDF instead, you will need to convert the PDF to a PNG file by screenshotting it, or using free software to convert it, such as https://cloudconvert.com.
Once you have converted your image to a PNG file, open the page of interest in MS Paint or your favourite editor. Use the draw and erase tools to edit the file how you like.
When you have finished, save your file as a PNG, BMP, TIFF, or WebP file. Saving as a JPEG file is not recommended as this format often spoils the image quality. If you want it as a PDF, convert it back, or use the Print option to print to PDF if this option is available on your PC.
If you have many pages there are many online tools you can search for that convert your edited score back into a single multi-page PDF.
Inkscape and other Vector Editing Software

Vector editing software such as Inkscape and Adobe Illustrator do not work with pixels. Instead they let you move or delete notes, marks, and so on as though they were draggable objects. Conceptually, it is more like using PowerPoint or Word - where you can add text, boxes, shapes, and images, then move them around the page, resize them, or delete them without destroying other parts of the document.
Vector editing software is more difficult to use than raster editing software, but it is also more powerful. With experience, vector editing software will give better results than using raster editing software such as MS Paint.
Advantages:
- Images never lose quality and can be saved at any resolution
- Move, add, copy, or delete any note, mark, etc without destroying or needing to re-draw other aspects of the image
- Can edit text after publishing, including the font
- Can make extreme changes to the document with less effort
- Generally give better looking results
- Much smaller file size
Disadvantages:
- More difficult to learn to use
How to edit
The instructions below are for Inkscape, a free vector editor, but steps will be similar in other programs such as Adobe Illustrator.
First, publish your project to PDF.
Some vector editing software will let you open PDFs directly. If you are using Inkscape, we recommend you do not attempt to open the files directly, because Inkscape often will convert text badly. Instead, use a free online tool like https://cloudconvert.com to convert your images into SVG format. This will give you one SVG file per page.
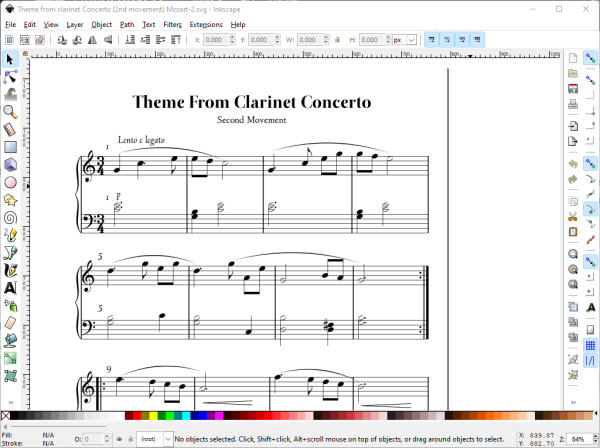
Using Inkscape, open the SVG file the page that you want to edit.
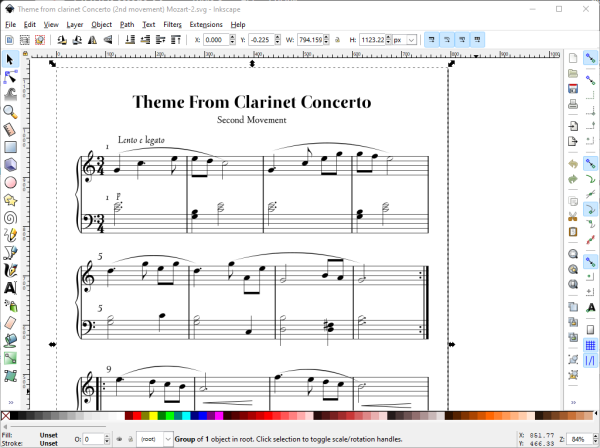
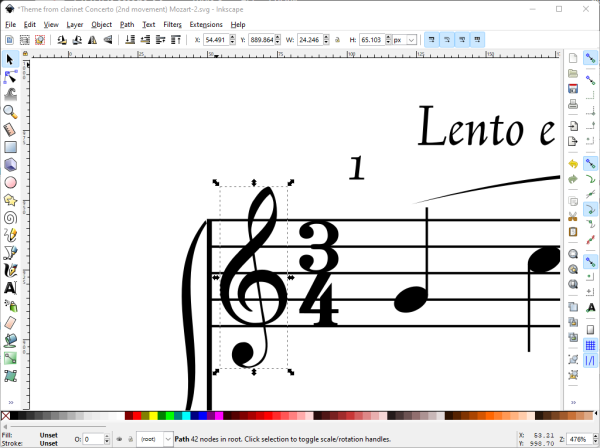
Typically, the file will look identical to the PDF. Everything on the page will be “grouped”, which means that if you try to select one thing, you will select everything.
The first step is to break up this group so that you can select individual notes, text, and marks.
First, from the menu, choose the normal mouse pointer. This tool is normally at the top left and lets you select things.
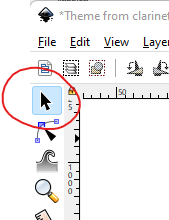
Click on the page to select everything.
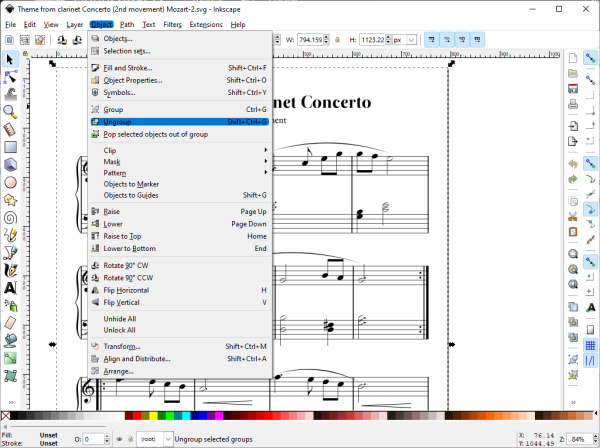
From the top menu, choose Object –> Ungroup.
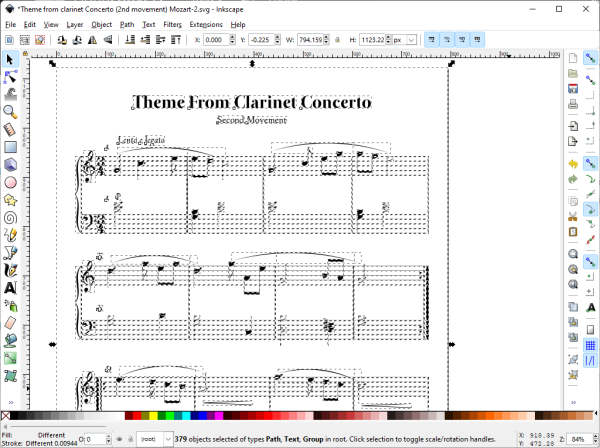
Initially it may seem like nothing has happened. Repeat this several times until you can see that the object you want to edit has its own box. For example, if you want to delete a stave, repeat the above step until you can see that that stave has a box surrounding it.
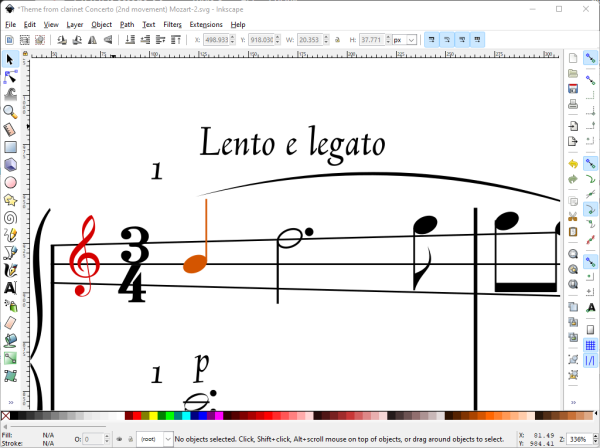
Press escape to deselect everything then click on the item you want to modify.
From here there are many things you can do. For example, you can:
- delete it by pressing delete, or
- copy and paste it to make a copy
- change its colour by clicking or shift-clicking on the colour bar
- drag it to another location
- make it larger or smaller
- Change the font, if it is text
- Double click to edit the text, if it is text
You can repeat this process as many times as you like to change the score in any way that you like.
When you have finished editing save the result, and convert back to a PDF either by:
- Choosing Print, and selecting Print To PDF, if this is available on your computer, or
- Using https://cloudconvert.com, or similar, to convert back to a PDF. If you have multiple pages, these tools will often let you combine them back into a multi-page document
More Advanced Functionality
Vector editing software is very powerful, and can do many more things than have been discussed here. These can be complicated to use for beginners. It is recommended to spend some time watching tutorial videos for your chosen vector editor if you want to use any advanced functionality.
